Prepping your walls is the most overlooked yet critical step to achieving a flawless paint job. If you’re eager to dive into painting but don’t want to waste time scrubbing, this guide will walk you through the fastest way to clean walls before painting—perfect for DIYers on a schedule. We’ll also explore the necessary tools, how to sand properly, and everything you need to know before applying that first coat.
Whether you’re refreshing a bedroom or tackling a whole house, follow this practical advice to save time and get professional-looking results.
Why cleaning walls before painting is essential
Interior paint adheres best to clean surfaces. Dust, dirt, grease, and other contaminants can prevent paint from bonding properly, leading to peeling, bubbling, or uneven coverage. According to experts, even walls that look clean can harbor residues that affect paint adhesion.
In high-traffic areas like kitchens and bathrooms, walls are often exposed to grease, smoke, and moisture. These substances can create a barrier between the wall and the paint, causing the new paint to fail prematurely. Using a mild detergent or a solution like trisodium phosphate (TSP) can effectively remove these residues, ensuring a clean surfaces for painting.
Moreover, cleaning the walls allows you to inspect for any damages, such as cracks, holes, or mold, that need to be addressed before painting. This proactive approach ensures a smoother application and a more professional finish.
-> Interior painting service in Saint Augustine
What you’ll need
To efficiently clean your walls and ensure optimal paint adhesion, gather the following tools and materials:
Essential tools & supplies
- Soft sponge or microfiber cloth: Ideal for gently scrubbing walls without causing damage.
- Warm water: Used in combination with cleaning agents to remove dirt and grime.
- Mild dish soap: Effective for cutting through grease and stains on walls.
- Buckets: One for the cleaning solution and another for rinsing.
- Rubber gloves: Protect your hands from cleaning agents and prolonged water exposure.
- Drop cloths or old towels: Protect floors and furniture from drips and spills.
- Vacuum with brush attachment: Useful for removing dust and cobwebs before washing.
- Step ladder: Helps reach higher areas safely.
Step-by-step guide to cleaning walls quickly and effectively
Properly cleaning your walls before painting is essential to ensure optimal paint adhesion and a smooth finish. Here’s a concise guide to help you clean your walls efficiently:
Remove dust and debris
Start by eliminating loose dust and cobwebs. Use a vacuum with a brush attachment or a microfiber duster to gently clean the walls from top to bottom. This step prevents debris from interfering with the paint application.
Prepare a mild cleaning solution
Mix warm water with a few drops of mild dish soap in a bucket. For walls with grease or stubborn stains, especially in kitchens, consider using a solution of water and a grease-cutting detergent. Alternatively, a mixture of vinegar and baking soda can be effective for natural cleaning.
Wash the walls
Dip a soft sponge or microfiber cloth into the cleaning solution, wring out excess liquid, and gently wipe the walls in a circular motion. Focus on areas with visible stains or marks. Avoid over-saturating the walls to prevent damage.
Rinse thoroughly
After washing, rinse the walls with a clean sponge dampened with plain water to remove any soap residue. This step is crucial to ensure that leftover cleaning agents don’t interfere with paint adhesion.
Dry the walls completely
Allow the walls to air dry completely before painting. You can speed up the drying process by increasing ventilation—open windows or use fans. Ensuring the walls are dry prevents issues like blistering or peeling paint.
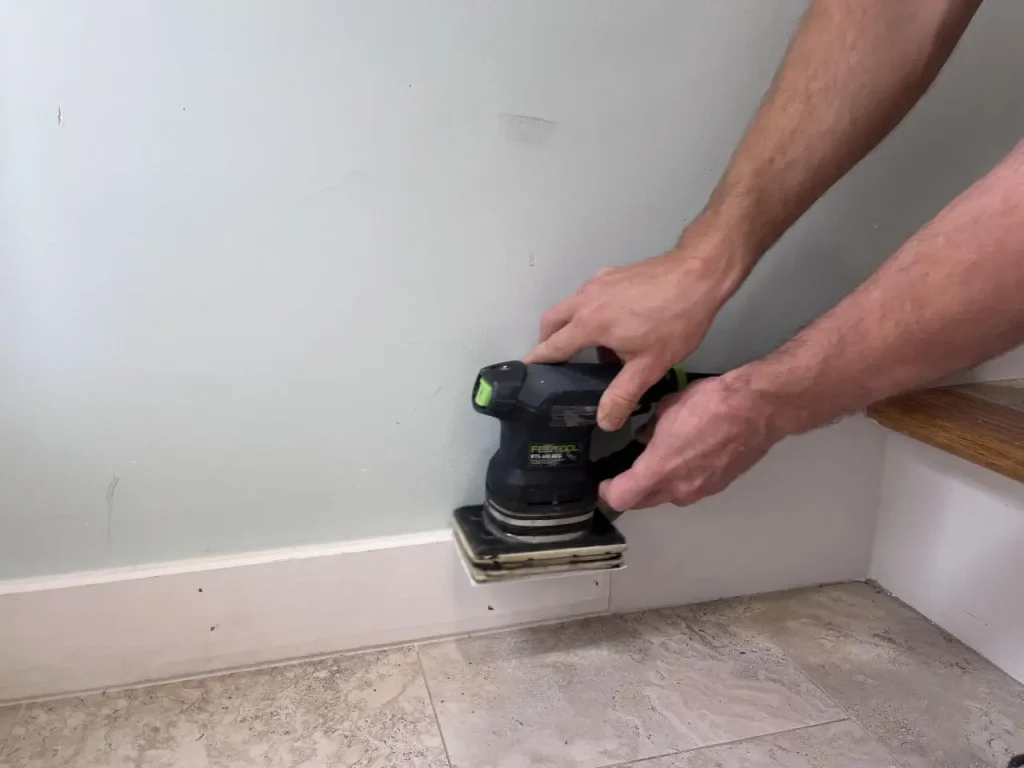
How to sand a wall before painting
Sanding your walls before painting is a crucial step to ensure a smooth, professional-looking finish. It helps to remove imperfections, old paint residues, and provides a better for the new paint to adhere to.
Choose the right sandpaper grit
Selecting the appropriate grit is essential:
- For initial sanding: Use medium-grit sandpaper, such as 100 to 120 grit, to smooth out joint compounds and seams.
- For final sanding: Opt for fine-grit sandpaper, like 150 to 180 grit, to achieve a smooth surface ready for painting.
Avoid using coarse sandpapers (below 100 grit) as it can damage the drywall surface.
Select the appropriate sanding tools
Depending on the area and detail required, choose from the following tools:
- Pole sander: Ideal for large, flat surfaces and ceilings. It allows you to sand without the need for ladders.
- Hand sander: Suitable for smaller areas and provides better control.
- Sanding sponge: Perfect for corners and detailed areas due to its flexibility.
- Power sander: Useful for large projects but requires careful handling to avoid over-sanding.
Sanding technique
Follow these steps for effective sanding:
- Preparation: Ensure the wall is clean and dry. Remove any nails or screws and fill holes with joint compound.
- Sanding: Using your chosen tool, sand the wall in a circular motion, applying even pressure. Focus on areas with imperfections or patches.
- Dust removal: After sanding, wipe the walls with a damp cloth to remove dust. This step is crucial to ensure proper paint adhesion.
By meticulously sanding your walls, you set a solid foundation for a flawless paint job.
-> Wallpapering in Saint Augustine
What grit sandpaper to use on drywall
Sanding drywall involves multiple stages, each requiring a specific grit to ensure optimal results:
Initial sanding: Removing major imperfections
- Recommended Grit: 80 to 100
- Purpose: To eliminate large bumps, ridges, and excess joint compound.
- Caution: Avoid using grits lower than 80, as they can damage the drywall surface.
Intermediate sanding: Smoothing the surface
- Recommended Grit: 120 to 150
- Purpose: To smooth out the surface after initial sanding, preparing it for the final finish.
Final sanding: Preparing for paint
- Recommended Grit: 180 to 220
- Purpose: To achieve a smooth, even surface ready for painting or priming.
Using a sanding sponge or pole sander can help maintain consistent pressure and reach high or tight areas. Always ensure the wall is clean and free of dust before applying paint.
-> 3D Wall panel installation in Saint Augustine
How long to let primer dry before painting
Allowing primer to dry thoroughly before applying paint is crucial for achieving a smooth, durable finish. Drying times can vary based on the type of primer, environmental conditions, and the surfaces being primed.
General drying times by primer type
- Latex (Water-Based) Primers: Typically dry to the touch within 30 minutes to 1 hour. However, it’s advisable to wait up to 3 hours before painting to ensure complete drying.
- Oil-Based Primers: These primers usually require 6 to 8 hours to dry to the touch, with a recommended wait time of up to 24 hours before painting.
- Shellac-Based Primers: Known for their quick drying time, they can be ready for painting in as little as 45 minutes to 1 hour.
Factors affecting drying time
- Humidity and temperature: High humidity and low temperatures can significantly slow down drying times. Aim for a room temperature between 50°F and 90°F (10°C to 32°C) and a relative humidity of around 50%.
- Ventilation: Proper airflow helps expedite drying. Use fans or open windows to improve air circulation.
- Application Thickness: Applying primer in thin, even coats ensures faster and more uniform drying.
Tips for ensuring primer is ready for painting
- Touch Test: Lightly press your fingertip against the primed surface. If it feels dry and doesn’t leave a mark, it’s likely ready for painting.
- Follow Manufacturer’s Instructions: Always refer to the primer’s label for specific drying times and recommendations.
- Avoid Rushing: Painting over primer that hasn’t fully dried can lead to poor adhesion, uneven color, and peeling.
By allowing the primer to dry adequately, you set the stage for a successful paint job.
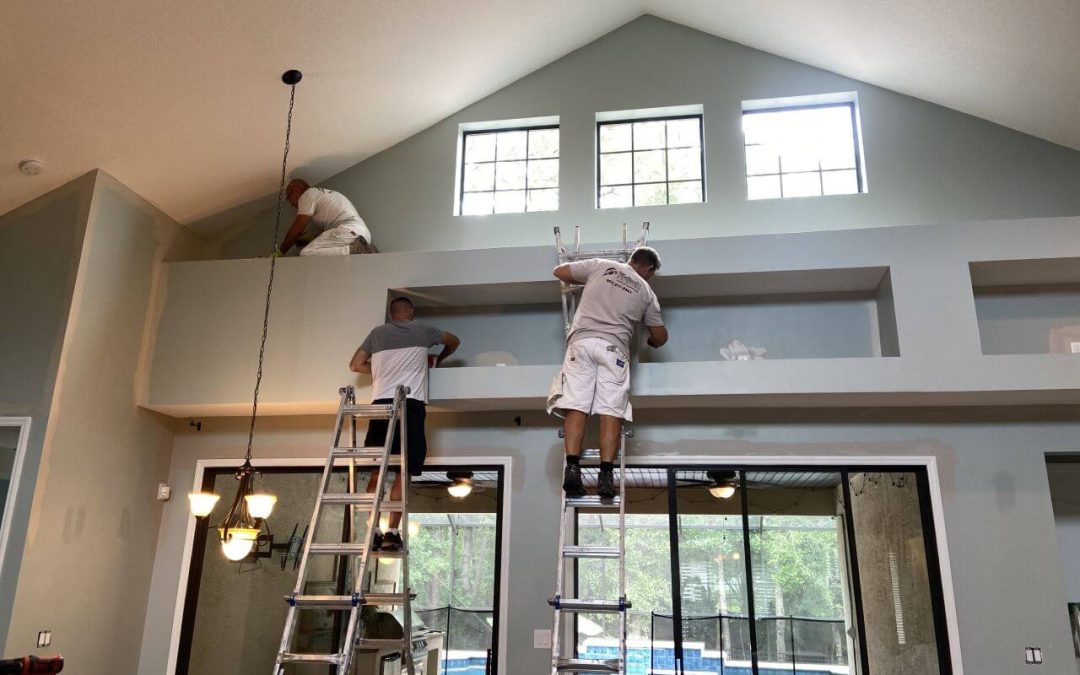
Prepping your interior walls before painting may seem like a chore, but it’s a vital step that determines the final quality of your paint job. Starting with a thorough cleaning using simple household items ensures that your paint adheres properly and looks smooth. Whether you’re tackling greasy kitchen walls or dusty living room surfaces, having the right tools and following an efficient process can save you time and trouble.
Sanding the walls is equally important—it helps eliminate imperfections and creates a consistent surface for the paint to grip. Choosing the right grit of sandpapers for drywall, from medium for rough areas to fine for finishing, ensures professional-level results.
Ask for professional help! We are happy to help with interior and exterior wall painting of family houses and vacation homes in the Saint Augustine area!
Call for a free quote! 1(904) 217-9681 – Peter Hando