I see drywall in many homes on the ceiling and even on side walls since it is a popular and widely used material for interior finishing. Drywall, also known as plasterboard, is made of two paperboards, gypsum, and perlite, on which any color can easily be applied on not with emulsion, but with dispersion paints also called latex paints. There are a few necessary steps before painting that have to be completed so the surface of the drywall turns out perfectly smooth and the paint comes out nice. If your home also has drywall or you are planning on using drywall for your interior, or putting in suspended ceilings, then I urge you to take a look at these guidelines before starting, so your project will turn out exactly the way you imagined! Drywall steps before painting:
Mudding and sanding are the key to smooth surfaces
Drywall mudding tips: The two most important steps in the work process are mudding and sanding. I never skip this part and I recommend that you don’t either, because your whole renovation project could be ruined without it. After I make sure that the plasterboards are stable, no nails or screws are protruding out, I put joint reinforcing drywall tape along the seams between the boards. Next, I smooth the surface over with the joint compound appropriate for drywall, also called drywall mud. I apply multiple layers on top until the surface is completely smooth. I sand and dust after each layer dries.
A deep primer is vital here too
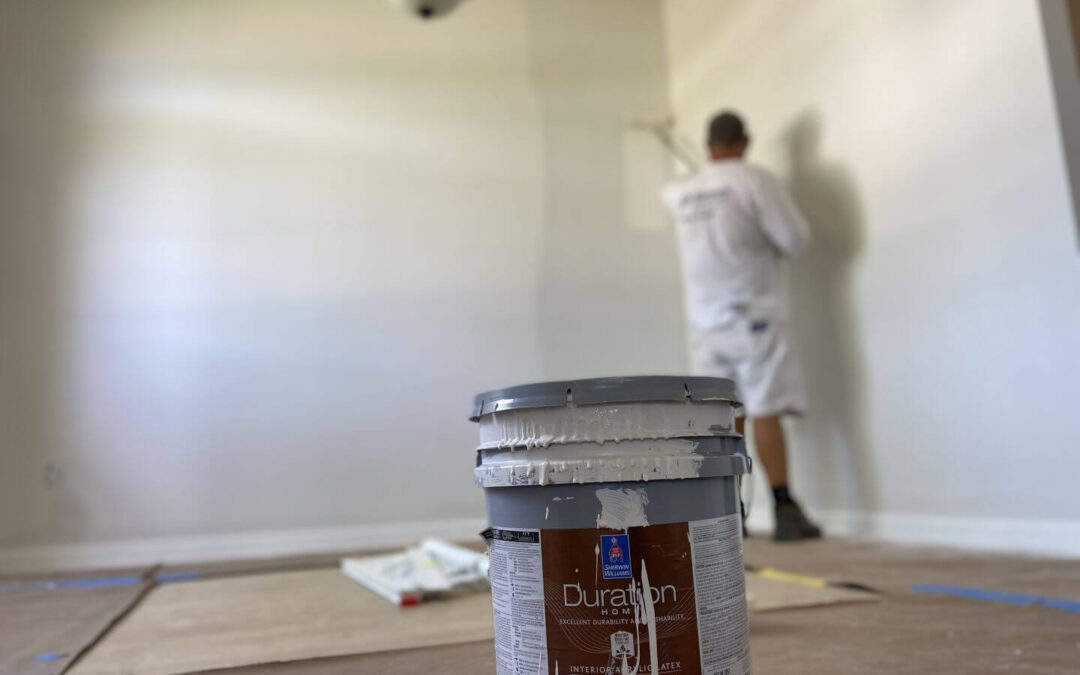
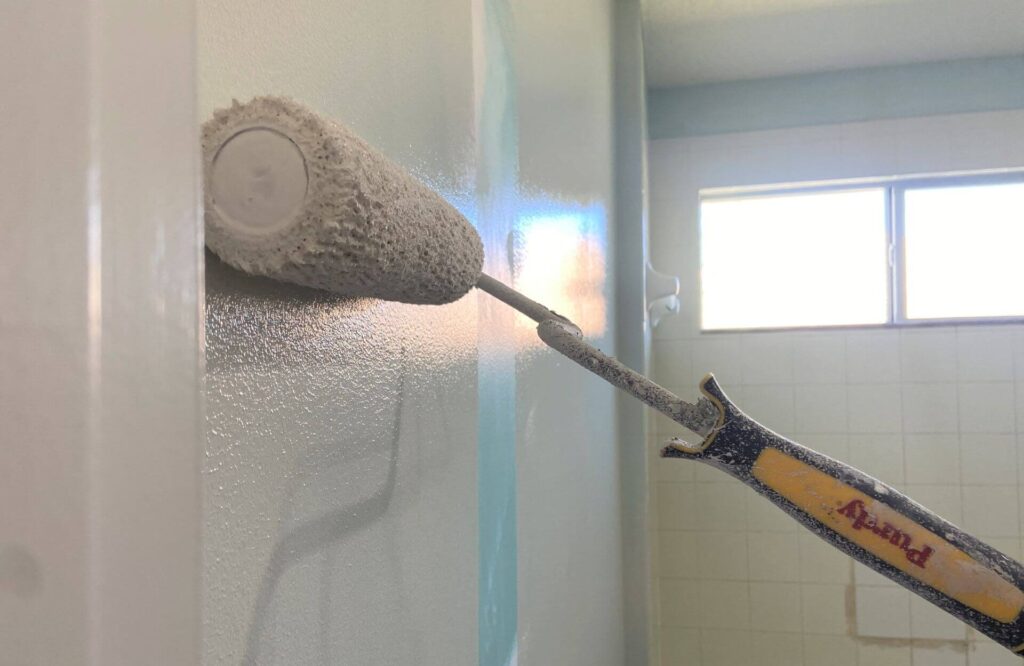
A deep primer needs to be applied to the drywall to achieve optimal absorbency of the surface. Only after everything is completely dry can the painting begin. There is no difference in techniques or color options when it comes to painting drywalls. Usually we recommend applying the paint with a short pile roller in at least two coats. After precise preparation with mudding and sanding, the surface should be smooth and even, making it ideal for the application of the paint.
If the drywall to be painted is not new, then the first step is to repair any and all damages on the surface of the wall. I work with spackling paste for smaller damages, and after a thorough sanding and dusting, the surface is ready for paint. When it comes to bigger cracks or holes, I cut out a square around the damaged surface and create a replacement. I secure the replacement with countersunk screws and put the joint reinforcing drywall tape on the edges. With the joint compound I cover and smooth over the surface. After drying, I sand and dust the area and apply the deep primer. At last, your repaired drywall is ready for painting. Thanks to the meticulous preparation, there are no signs of previous damage after the paint is applied!
Call now – drywall repair near me : 1(904)217-9681
More interior painting projects: https://localpainterflorida.com/interior-wall-painting-2/
More painting projects: https://localpainterflorida.com/painting-projects/