A fresh exterior paint job does much more than improve curb appeal. It protects your home from sun exposure, moisture, temperature swings, and everyday wear while giving the entire property a cleaner, more cared-for appearance. Whether you are planning a full repaint or simply updating faded areas, understanding the process can save time, money, and frustration. A well-executed exterior project can also extend the life of siding, trim, doors, and other exposed surfaces that face constant environmental stress.
If you are researching house painting projects, it helps to start with the fundamentals before opening the first can of paint. Exterior house painting success depends on careful preparation, the right materials, favorable weather conditions, and a clear plan for each surface. When all of these pieces come together, the final result tends to last longer and look much more professional. Taking the time to understand the full process also helps homeowners make better decisions about whether to do the work themselves or bring in experienced professionals.
Why exterior painting matters
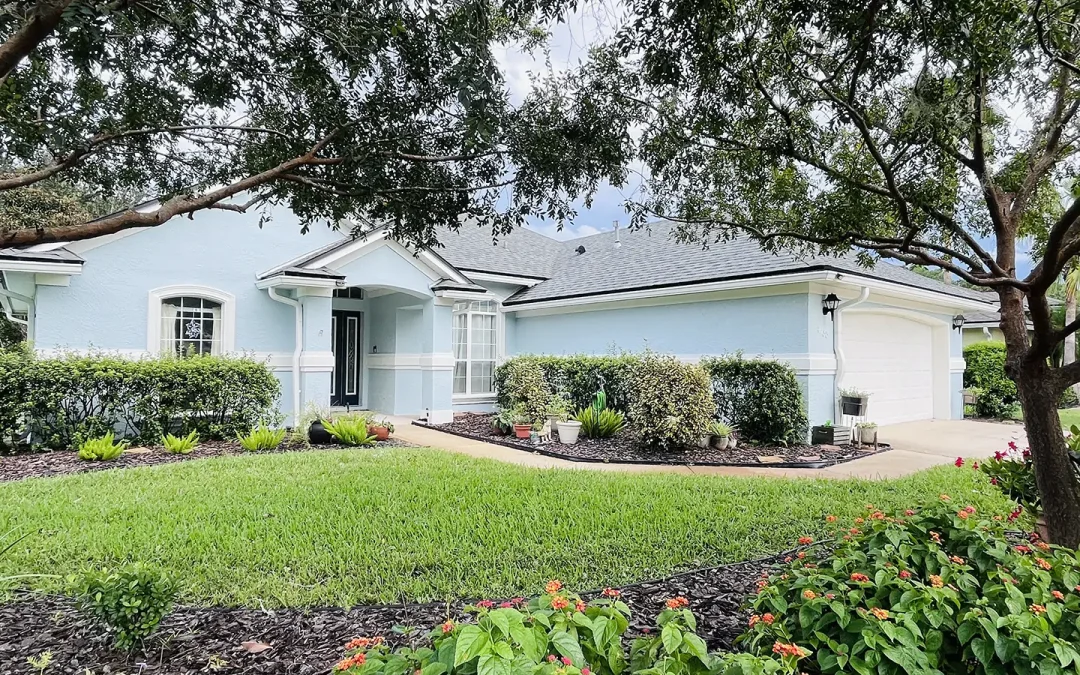
Exterior paint acts as a protective barrier against the elements. Rain, humidity, UV rays, dirt, and shifting temperatures can gradually damage siding, trim, and other outdoor surfaces. A quality paint system helps reduce moisture intrusion, minimizes surface deterioration, and supports the long-term condition of the home. This protective layer is especially important in climates where seasonal changes are intense or where homes are regularly exposed to strong sunlight and storms.
Beyond protection, exterior painting also influences property value and first impressions. A well-maintained exterior can make a home look newer, brighter, and more inviting. Even small upgrades in color and finish can dramatically change the overall character of the house. For homeowners thinking about resale, exterior appearance often shapes a buyer’s opinion before they even step through the front door.
Signs it is time to repaint
Many homeowners wait until peeling paint becomes impossible to ignore, but there are earlier signs that suggest repainting is a smart move. Fading, chalky residue, hairline cracks, bubbling, mildew stains, and exposed wood are all indicators that the current finish may no longer be doing its job. Spotting these warning signs early can help prevent more costly repairs later.
In some cases, the issue is not age alone but climate exposure. Homes in hot, humid, coastal, or storm-prone regions often need more frequent maintenance. Regular exterior inspections can help catch trouble spots before they turn into larger repair projects. Paying attention to south- and west-facing walls is often especially useful, since those surfaces may experience stronger sun exposure and faster wear.
Another clue is when previous touch-ups no longer blend well with the original finish. Uneven sheen, visible patch areas, and color inconsistency can make the exterior look neglected even if the structure itself is in good shape. Repainting the full surface can restore a more unified, polished appearance.
Choosing the right time for the project
Timing plays a major role in the outcome of an exterior painting job. Paint generally performs best when temperatures are moderate, humidity is controlled, and rain is not expected for at least a day or two after application. Extremely hot surfaces can cause paint to dry too quickly, while cold weather may interfere with adhesion and curing. Even if the product label gives a broad temperature range, stable conditions usually produce the most reliable results.
Our professionals by MultiColor Painting recommend painting during a stable weather window rather than focusing only on a particular season. Morning shade, afternoon sun, wind exposure, and overnight temperature drops can all affect how paint behaves on the surface. Planning the work around these daily conditions can make the application smoother and the finish more even.
It is also worth considering how long each side of the house stays shaded. Painting surfaces that are too hot from direct sun can cause brush marks, lap marks, or premature drying. Working with the natural movement of sunlight around the house often leads to better control and a cleaner finish.
Surface preparation comes first
Preparation is often the difference between a long-lasting finish and a disappointing one. Before painting begins, surfaces should be cleaned thoroughly to remove dust, mildew, cobwebs, chalking, and loose debris. Pressure washing can help in many cases, but it should be done carefully to avoid damaging wood or forcing water into vulnerable gaps. In some situations, hand washing with the right cleaning solution may be safer for older or more delicate surfaces.
After cleaning, the surface needs time to dry completely. Any peeling paint should be scraped away, rough spots should be sanded, and damaged caulk should be replaced. If wood rot, cracks, or other structural issues are present, those repairs should be completed before primer or paint is applied. Skipping these steps may save time at first, but it often shortens the life of the finish.
Preparation also includes protecting nearby features. Windows, fixtures, landscaping, walkways, and outdoor furniture should be covered or moved before painting starts. Careful masking and setup not only reduce mess but also create sharper lines and a more professional final appearance.
Inspecting the exterior before you start
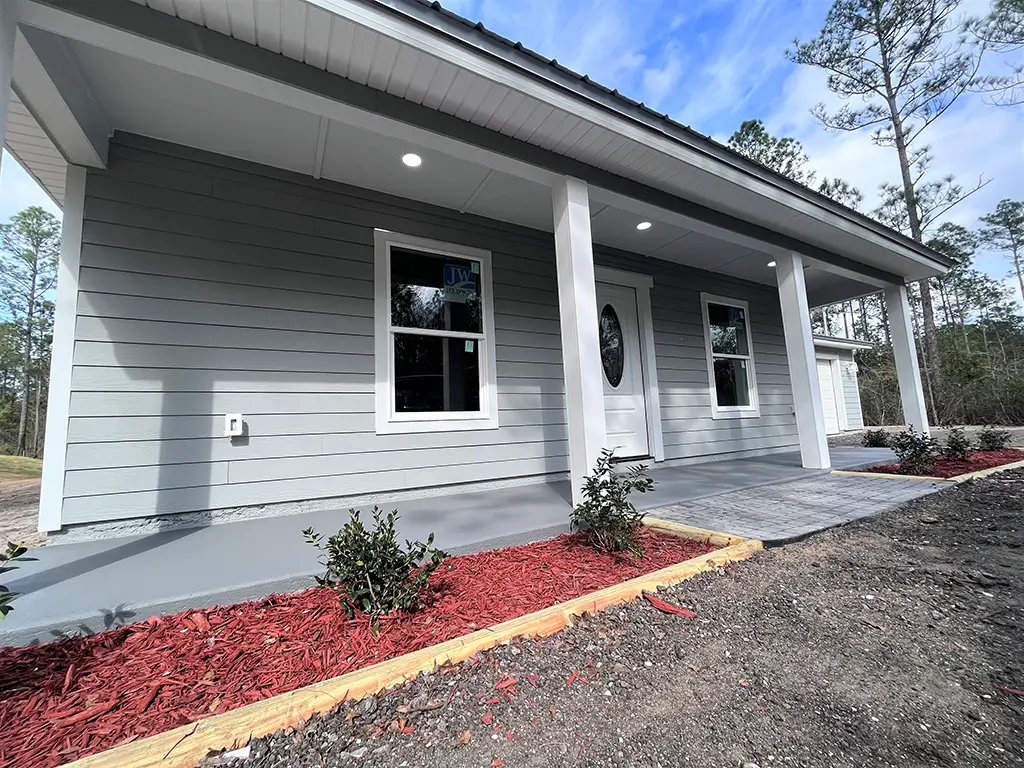
Before choosing colors or buying supplies, it is wise to inspect the entire outside of the home. Different materials can have different needs, and what works well for wood siding may not be the best option for stucco, brick, fiber cement, or engineered panels. A close inspection helps identify repairs, previous coating failures, and hidden moisture problems.
This step is also helpful for estimating the scope of the project. Some homes only need repainting on trim and high-exposure areas, while others require full-body painting plus detail work on doors, shutters, soffits, and fascia. Creating a surface-by-surface checklist can make the project more manageable and reduce the chances of missing important areas.
Selecting paint and primer
Not all exterior paints are the same, and product selection matters. Paint should match the substrate, climate, and durability needs of the home. Acrylic latex exterior paint is a popular choice because it offers flexibility, color retention, and resistance to cracking. Many homeowners also prefer it because cleanup is easier and the finish tends to hold up well in a variety of conditions.
Primer is equally important, especially on bare wood, repaired sections, stained areas, or surfaces with major color changes. Using the right primer helps improve adhesion, creates a more uniform finish, and supports better long-term coverage. Skipping primer in situations where it is needed often leads to uneven results.
Some surfaces may also benefit from specialty products, such as masonry primers, bonding primers, or mildew-resistant coatings. Matching the product system to the actual condition of the home is one of the best ways to improve performance and reduce the need for premature repainting.
Picking colors that work
Color choice has both aesthetic and practical implications. Lighter shades can reflect more heat, while darker colors may absorb sunlight and show fading sooner in some climates. The architectural style of the home, neighboring properties, roof color, and landscape features should all be considered. A color that looks excellent on a sample card may feel very different when viewed across an entire exterior wall.
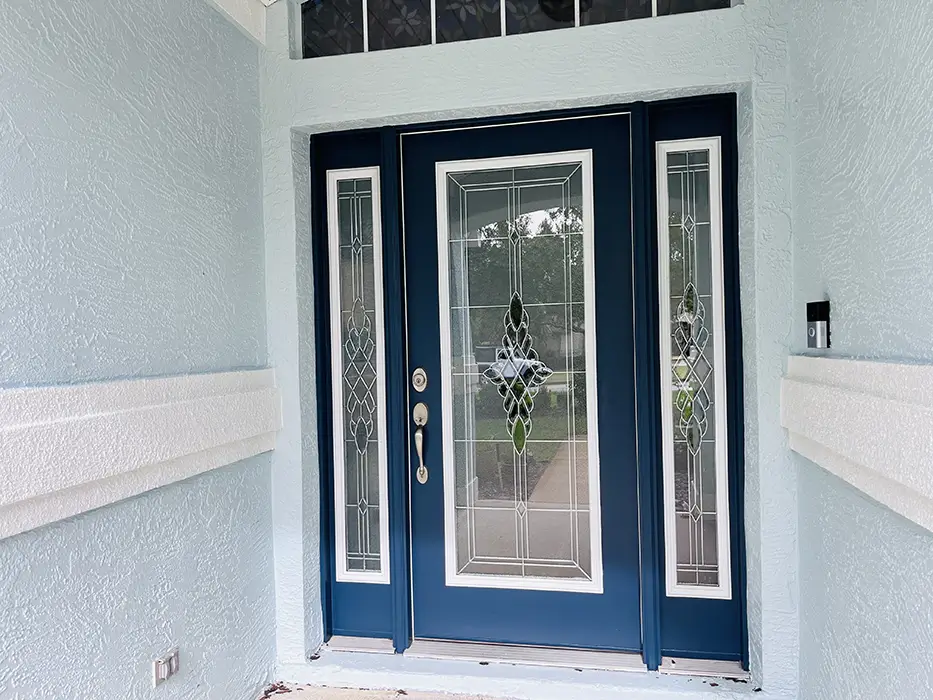
A balanced palette often includes a main body color, a trim color, and an accent shade for doors or shutters. Testing sample colors on multiple sides of the house is a smart step, since natural light changes throughout the day and may alter how a color appears. What looks soft and warm in the morning may appear cooler or much brighter in the afternoon.
It is also helpful to think about longevity. Trend-driven colors can be appealing, but classic combinations often remain attractive for longer and may offer broader resale appeal. The right color plan should suit both the homeowner’s taste and the character of the property.
Tools and techniques for better results
High-quality brushes, rollers, ladders, and sprayers can make a major difference in finish quality and efficiency. Brushes are helpful for trim, edges, and detailed areas, while rollers are useful on certain textured surfaces. Sprayers can speed up large projects, but they require careful masking and a steady hand to prevent overspray. Choosing the proper nap thickness, brush type, and extension tools can also improve comfort and consistency.
Working from top to bottom is usually the best approach. This helps control drips and creates a more organized workflow. It is also wise to paint in sections and maintain a wet edge to reduce visible lap marks. Smaller, methodical sections are often easier to manage than trying to complete a large wall all at once.
Another smart technique is to box paint together when using multiple cans of the same color. Combining them in a larger bucket helps reduce slight color variations and creates a more uniform final result. This can be especially useful on large homes or projects requiring several gallons.
Safety considerations during exterior painting
Safety should never be treated as a minor detail. Exterior painting often involves ladders, uneven ground, roof edges, electrical lines, and prolonged exposure to sun and heat. Using stable equipment, appropriate footwear, gloves, eye protection, and sun protection can make the work significantly safer.
It is also important to know your limits. Tall walls, second-story trim, and difficult architectural details can quickly become risky without the proper tools and experience. In those cases, hiring professionals may be the safer and more efficient choice.
Common exterior painting mistakes to avoid
One of the biggest mistakes is painting over dirty or damp surfaces. Another frequent issue is ignoring surface repairs and assuming paint will hide flaws. In reality, paint tends to highlight imperfections rather than conceal them. Visible cracks, rough patches, and failed caulk lines often become even more noticeable after a fresh coat.
Using low-quality materials, rushing preparation, painting in unsuitable weather, and applying coats too heavily can all shorten the life of the finish. Homeowners should also avoid underestimating safety concerns, especially when working on upper stories or around difficult rooflines. Trying to save money by cutting every corner often leads to faster deterioration and more expense later.
Another common mistake is failing to read the product instructions. Dry times, recoat windows, temperature recommendations, and coverage rates matter. Following manufacturer guidance can make a substantial difference in both appearance and durability.
Read more: Wall painting in the summer heat
Maintenance after the paint job
Once the project is complete, a little maintenance can help preserve the new look for years. Gutters should be kept clear, shrubs should be trimmed away from siding, and exterior walls should be rinsed occasionally to remove dirt buildup. Inspecting caulk lines and touch-up areas each year can prevent minor issues from becoming expensive repairs. Seasonal checkups are especially helpful after storms, freezing weather, or long periods of intense heat.
A painted exterior is not a one-time concern but part of an ongoing home care routine. When maintained properly, a quality exterior paint job can continue protecting and enhancing the home long after the final coat has dried. Staying proactive is often the best way to preserve both appearance and performance.
Simple habits can make a real difference. Looking for early mildew growth, repainting small worn areas before they spread, and keeping sprinklers from constantly soaking siding can all help extend the life of the finish. Consistent attention usually costs far less than a full repaint caused by preventable neglect.
Budget and weather considerations
One of the most common questions homeowners ask is about the cost of painting outside of house surfaces from top to bottom. The final price usually depends on the size of the property, the condition of the siding, the amount of prep work required, the type of paint selected, and whether detailed trim or repair work is involved. Anyone searching for painting outside of house cost information should keep in mind that estimates can vary widely, especially when damaged wood, extensive scraping, or difficult access points increase labor time.
Another major factor is painting outside of house temperature, since weather conditions directly affect how well paint adheres, dries, and cures. Even the best products can underperform if they are applied during extreme heat, cold, or sudden humidity changes. For that reason, homeowners should compare both product guidelines and local forecasts before starting, because proper timing can protect the investment and help the finished exterior last much longer.
If you’re in Florida’s Saint Augustine area, MultiColor Paint offers expert interior and exterior painting services. Their professional team can help bring your vision to life with quality finishes and thoughtful color planning. Learn more.
I trust that with my advice you can easily choose the right wall colors for your space, however, if you would rather entrust the task to a professional painter in the St. Augustine area, feel free to call me for a free quote. Call now: 1(904) 217-9681