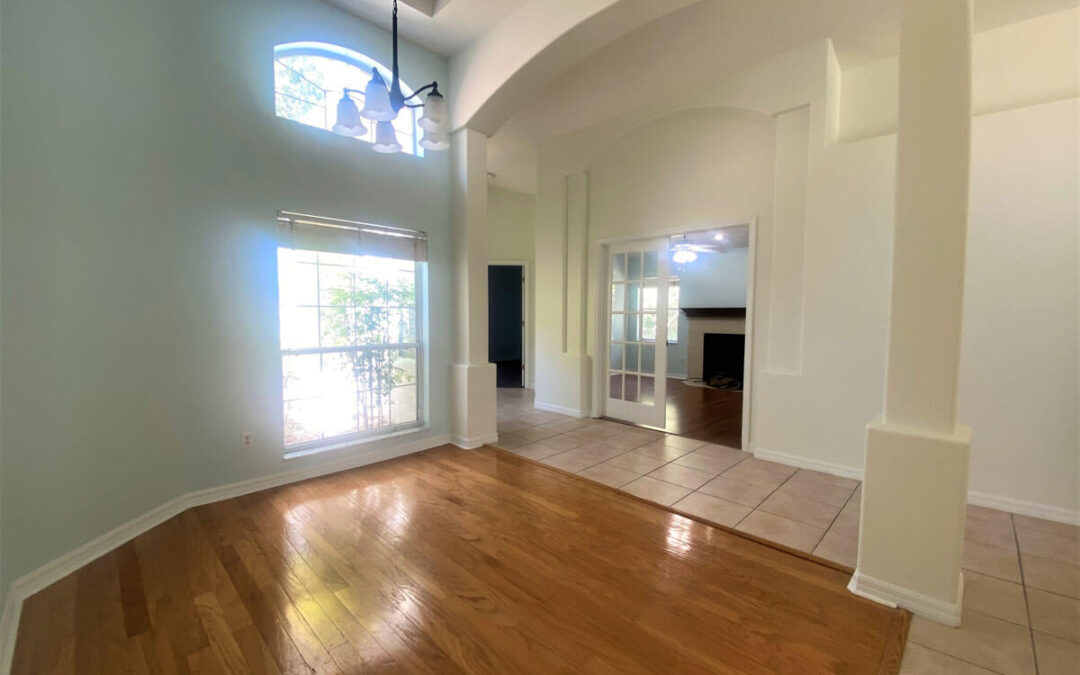
Now that we have all been spending more time at home, I am sure you have thought of bringing some color and cheer into your living space. I am going to show you two ideas to achieve this: hand painted confetti art or a two-tone wall.
Modern Confetti Wall Art
When it comes to wall decor, confetti art is one of our favorites! It is simple, but stylish, it is perfect for bringing some color and playfulness into your home. Whether you are putting it on a central wall or a small area to complement an overall effect, it will be awe-inspiring!
Choose soothing and relaxing hues to create a creative and productive vibe in your home office. Involve your kids as well and let their imagination run free to pick whatever color they want for their own rooms. Confetti art may also be an ideal choice for your closet, where creative energies are present naturally. The best part of using this technique is that you can use any leftover materials of paint, paper, or yarn to create the perfect confetti wall art in your home.
What you will need:
- 250 ml of Sherwin Williams wall paint of every chosen color
- 30 A3 paper for the templates
- 2 A1 oiled stencil paper
- Craft knife and cutting mat
- Scissors
- Tape measure
- Colored chalk and yarn
- Masking tape
- Sponge roller and tray for every color
- Dusting sheet
Step-by-Step Confetti Wall Art
Before you start, it is important that the pattern is put on a clean wall. The confetti will not look good on stained walls that have not received a new coat of paint in a few years. You can make the confetti all by yourself with the whole family involved, but we recommend hiring a professional for the wall painting. Give me a call and I will help with the quick prep work and even the confetti painting if you choose to just pick out the colors and let a professional handle the rest. If your family is feeling creative and adventurous, you can create confetti wall decor by yourselves with these instructions:
- Draw around a circular object (such as a small cup) on a piece of paper to create a perfect circular template. Cut around with a craft knife, even stacking 3 papers at a time to work faster.
- With the help of the tape measure and the templates, mark on the two ends of the wall the height of the area where the circles will be.
- Take a yarn as long as your wall and draw across it with chalk. Stretch the yarn out between your previously drawn two points and with a determined move slap it on the wall. Now you have your guidelines!
- Use the paper templates: with some masking tape place them along the guidelines with 3 centimeters between each circle.
- When all the templates are on the wall, place the stencils on the wall using masking tape and taking out the templates from underneath.
- Use the sponge roller making sure it is not saturated with too much paint, and paint over the stencil. Repeat this with every color and circle.
Two-tone Wall Painting
Two-tone walls are relatively popular among my clients and I cannot deny the striking and modern effect it can achieve in a home. If you simply cannot choose between two complementary colors, why not just use both of them!
- Measurements: decide where the two colors will meet. It is a good idea to relate the line to something in the house, the two-tone wall will look even better if the separation fits in with the furnishings. With the help of a measuring tape and a pencil we mark the desired height with equally distanced lines along the length of the wall.
- Painting the lighter color first. With a roller we apply the lighter paint on the appropriate side going a tiny bit over the line of separation. Now we let the paint dry.
- Using masking tape to separate the two sides of the wall. We mark the line of separation on the wall with chalk after the first color has completely dried. The masking tape is then put on along this line.
- Applying the darker color of paint. With a roller we paint the darker color on the other side of the wall. We use a brush on the edges to make sure we don’t go past the line.
- Remove the masking tape. Before the paint dries, we remove the masking tape. Now your two-tone wall is ready to be enjoyed and admired!


