Wallpapering is not a difficult task, and even beginners can do it by themselves if they keep a few things in mind. It’s important to prepare a smooth, clean, solid, load-bearing, and absorbent surface before starting the work. Remove the old wallpaper thoroughly and carefully fill and repair any cracks and damaged plaster.
Measure the wallpaper before cutting it and align the first strip in the right place before applying adhesive. To avoid inaccuracies, it’s important that the wallpaper strip runs perpendicular to the ceiling or floor.
After applying adhesive to the wallpaper, make sure to soften it properly. Following the softening times will help prevent wrinkles or bubbles at the wallpaper seams. The softening time may vary depending on the type of adhesive and wallpaper, so be sure to read the instructions on the packaging.
For beginners, it’s a good idea to choose flock wallpapers. These wallpapers don’t need to be pre-softened and can be applied directly to the wall with the right adhesive. Additionally, flock wallpapers are dimensionally stable, durable, and tear-resistant, which makes the job easier.
Flock wallpaper is a type of wallpaper with a soft, wool-like texture on its surface. This type of wallpaper often adds decorative and textured effects to the wall, making it particularly popular in interior design.
Work preferably near closed doors and windows to prevent the wallpaper from drying too quickly. This can prevent seams from separating and ensure proper adhesion of the strips.
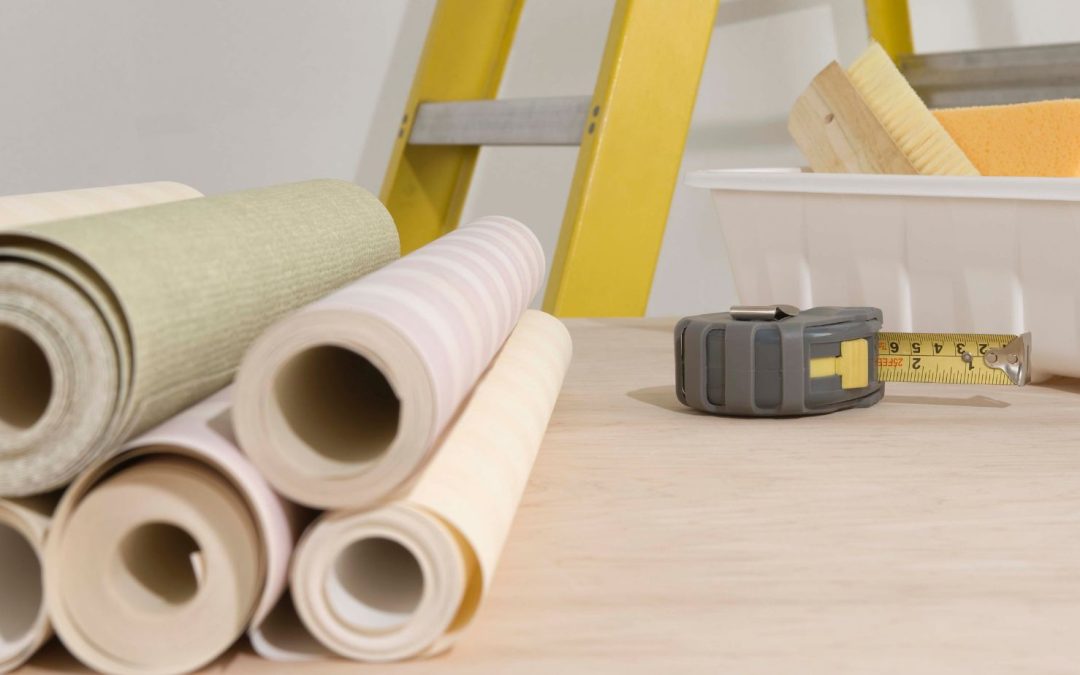
Prepare all the tools and materials in advance and protect the floor. This guide will help you learn how to wallpaper and what else to consider.
Feel free to give me a call! I’ll do an in-person survey and give you a customized quote! Call now: 1(904)217-9681
Where to start wallpapering?
Before you start wallpapering, measure the room’s height from the ceiling to the baseboard and add approximately 10 cm. This provides some flexibility in case of variations. You can easily trim overly long strips later.
Next, begin wallpapering on a light-colored wall with the first strip. Ideally, choose a wall next to a window. Create a guideline for the first strip by marking a straight line with a level from the ceiling to the floor. Use a pencil to mark this line on the wall, aligning the first strip with it.
Always work from the top down. Press the wallpaper strip into the top corner between the ceiling and the wall, allowing the wallpaper to extend a few centimeters beyond.
Double-check that the wallpaper is parallel to the guideline. Once everything is in place, use your hand to gently smooth the strip against the wall. Then, use a wallpaper brush to work the surface and smooth out air bubbles. Move the wallpaper brush from top to bottom and from the center toward the edges. For better adhesion, it’s advisable to go over the edges with a wallpaper seam roller.
Trim any excess wallpaper at the ceiling and baseboard with a wallpaper smoother. Press the tool firmly into the corner and pull down to remove the excess wallpaper. As an alternative, you can use scissors or a utility knife. Work with gentle, controlled motions to avoid tearing the wallpaper.
Where to start wallpapering one wall?
When starting to wallpaper one wall, it’s generally recommended to begin in a corner or an inconspicuous location. Here are the steps to follow:
- Choose a starting point: Select a corner or a spot behind a piece of furniture where any potential mismatch or imperfections will be less noticeable.
- Measure and mark: Use a level and a pencil to create a straight vertical guideline where you plan to start. Make sure this guideline is plumb, so your wallpaper will hang straight.
- Cut your first strip: Measure the height of the wall from the baseboard to the ceiling and add a few extra inches to ensure that the wallpaper reaches the ceiling and baseboard. Cut your first strip to this height.
- Apply adhesive: Apply wallpaper adhesive to the back of the first strip according to the manufacturer’s instructions. Be sure to apply the adhesive evenly.
- Hang the first strip: Align the top of the first wallpaper strip with your marked guideline and press it onto the wall. Smooth out any air bubbles and make sure the strip is straight.
- Continue with the next strips: Once the first strip is in place, continue applying subsequent strips, ensuring that the patterns or seams match correctly.
Starting in a corner or hidden area allows you to ensure a neat and aligned appearance for your wallpaper, making any potential mismatches less noticeable.
Where to start wallpapering on a wall with a door and on a window wall?
When you reach a window or a door, start by wiping the wall with a sponge or a cloth. Use a brush around the window or door.
Apply the wallpaper in the usual manner, align it with the wall, and press the top of the wallpaper strip tightly against the wall near the ceiling.
Feel and mark with your finger where the upper corner of the window or door is, and lift the wallpaper above the window or door. From the corner, make a cut at the top, and bend the edge down.
Now you can press the wallpaper against the upper plane of the window or door trim and trim the edge. Repeat this process at the bottom, below the window. When cutting from bottom to top, be careful to avoid tearing the wallpaper.
When cutting, make sure to change the blade frequently as needed, and don’t forget to wipe the surface with a damp sponge to remove any adhesive residue.
Feel free to give me a call! I’ll do an in-person survey and give you a customized quote! Call now: 1(904)217-9681
How to hang wallpaper without seams showing?
Hanging wallpaper without showing seams requires careful attention to detail. Here are the steps to achieve a seamless look:
- Proper wall preparation: Ensure that the wall is clean, smooth, and free from any imperfections. If necessary, patch and sand any cracks or holes, and make sure the surface is completely dry.
- Choose the right wallpaper: Select wallpaper that is suitable for your skill level and the room’s requirements. Some wallpapers are more forgiving of minor imperfections and seams, so choose accordingly.
- Use the right adhesive: Use high-quality wallpaper adhesive that is appropriate for the type of wallpaper you’re using. Follow the manufacturer’s instructions for mixing and applying the adhesive.
- Measure and cut carefully: Measure and cut the wallpaper strips accurately, ensuring that they are the right length for the wall. Make sure to align patterns and motifs properly.
- Apply adhesive evenly: Apply adhesive to the back of the wallpaper strips evenly and generously, making sure there are no dry spots or excess adhesive.
- Book the wallpaper: After applying the adhesive, fold the wallpaper in on itself, creating a “book” fold. This allows the adhesive to activate and the paper to expand without drying out before application.
- Align and apply: Carefully align the wallpaper strip with the guideline you’ve marked on the wall. Smooth it down, starting from the center and moving outwards to remove air bubbles and ensure proper adhesion.
- Trim excess: Use a sharp utility knife and a straightedge to trim excess wallpaper at the ceiling, baseboard, and corners. Make clean and precise cuts.
- Double-cut seams: For a truly seamless look, consider double-cutting the seams. This involves overlapping the edges of adjoining wallpaper strips slightly, then cutting through both layers to create a perfect seam.
- Roll seams: Use a wallpaper seam roller to ensure that the seams are well-adhered and flat.
- Clean excess adhesive: Wipe away any excess adhesive from the surface of the wallpaper with a damp sponge or cloth.
By following these steps and paying attention to the details, you can hang wallpaper with minimal or no visible seams, creating a polished and seamless look.
Additional Wallpapering Tips
To achieve successful wallpapering, it’s worth keeping a few tips in mind.
The secret to a well-executed wallpapering is a clean, smooth, and consistently absorbent surface. If this is not the case, you can improve the condition of the wall with a primer.
In some cases, thinner wallpapers can be translucent, and thus, differences in the base surface color may become visible. To achieve a uniform look in the presence of irregularities, you can use a pigmented primer.
Use a stable and non-wobbly wallpapering table. If a dedicated wallpapering table is not available, a stable kitchen table or the floor can also be suitable for pasting. Prior to starting, cover the floor with plastic or cardboard to protect it from adhesive residue.
When mixing the adhesive, follow the manufacturer’s instructions on the packaging. It’s best to use cold tap water and let the mixture stand as per the instructions. For applying the wallpaper, use a wallpaper brush.
Feel free to give me a call! I’ll do an in-person survey and give you a customized quote! Call now: 1(904)217-9681