Painting cannot be a complicated thing, but excellent precision is required … be brave and we can help get you started. Here are some helpful tips for painting wood or metal.
Paint type and brush selection
In general, everyone begins with color, although it’s worth deciding on the paint type first. For wooden surfaces you can choose from enamel paint, glazes, varnishes, or oils. The enamel ranges from a high gloss, semi-gloss to a subtle matte finish.
If you have the paint, let’s choose the appropriate tools!
In general, the packaging on paint brushes indicates what kind of surface material they are recommended for. Which one is good for wood or metal? Glazes require specialty brushes as well.
The metal cans these paints and glazes come in are very tightly sealed. To open them, use a metal putty knife or the flat end of a screwdriver to pry the lid off. Before using these products, always thoroughly stir it up because they can sit on the shelf of a business for months or even years, and all the color pigment separates and sinks down to the bottom of the can.
Add mineral spirits to the enamel paint (whether it’s synthetic or oil based). This will help the paint spread further and smoother. In terms of how much to dilute, check the manufacturer’s label on the paint can to see what the official recommended amount is.
It is always a good idea to dilute the paint and mineral spirits in a smaller portion in a separate can or in an empty glass jar.
The foundation coat on a wooden surface
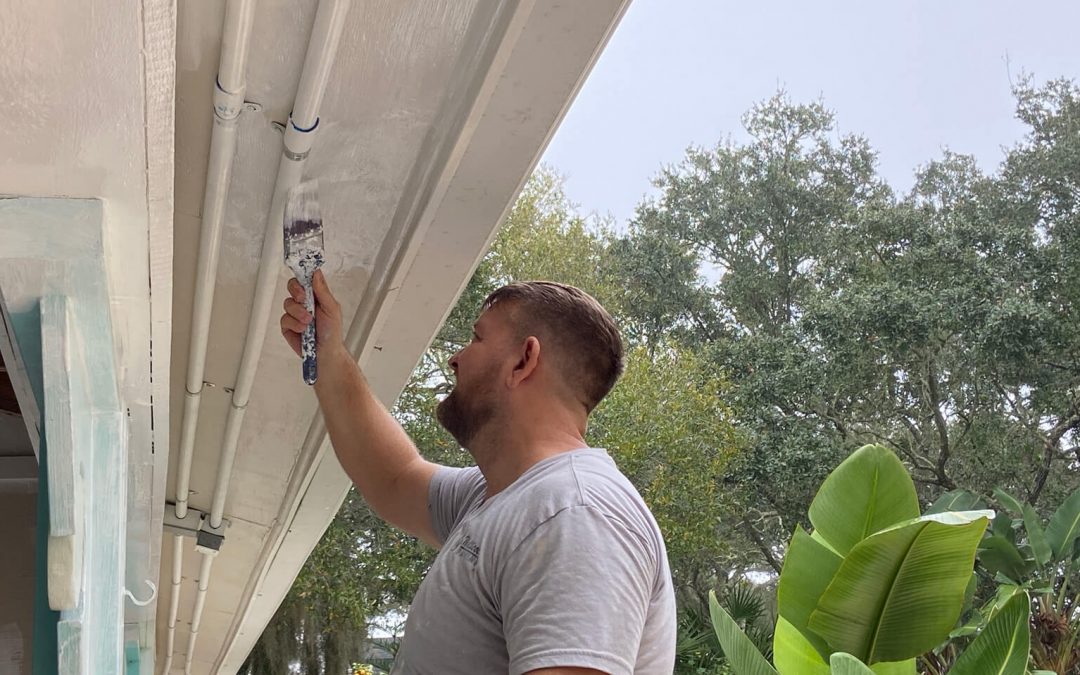
When beginning to paint a wooden surface, it is best to apply the diluted enamel layer first. This layer will stick fast to the wood surface and create an ideal surface for the second layer which will cover much better. Another option is to use wood preservatives as a strong and protective foundation layer. Factory made wood preservatives have insecticides and mildew/mold resistance additives already mixed in.

On larger surfaces, use a larger brush with a wide width that will help you paint in long, straight, even movements when dispersing the paint. For the narrower parts, such as baseboard trim, rotate the brush to the slimmer side and use similar long with movements to apply the paint.
You can create a beautiful antique look on wooden surfaces by using this homemade technique.
To achieve this exciting surface effect, chose two color tones for your paint – one brighter and one darker. Dilute each one well and apply here and there in thin layers to the surface with a brush. Do the same with the other tone and repeat the process. Use a clean brush to smoothly blend the two together to create a beautiful, finished look.
You can also try the simple technique of applying paint using a simple dish sponge. Although it is different, you still get a similar and beautiful look.
Varnish is a strong transparent material – it is strong enough to stand up to the elements outdoors. The application is similar to enamel. Use 2 or 3 layers over with the wood, ideally waiting 1 day for drying time between each layer.
Linseed oil is a natural protective agent. It is recommended to smear your surfaces with it once or twice annually to increase the life of the wood.
We can also paint with brushes and rollers!
Brushes and rollers can be used interchangeably and can be used directly from the can the enamel or paint resides in.
Attention ! If you choose to use a “furrier” roller on a wood surface it may not have the best look when completed. Working with a sponge roller will allow you to achieve an even and beautiful look.
The differences between thick and thin glazes
All brands of paint carry thick and thin glaze options. The thin glaze is more transparent and allows the natural look of the wood to show through. The thick glaze allows you to apply a solid color to the wood, blocking out more of the grain but still allows you to see the texture of the wood. Water based glaze simply means you can dilute them with water. In general, I try to avoid solvent-based glaze options because it evaporates in the air and is harmful to breathe in.
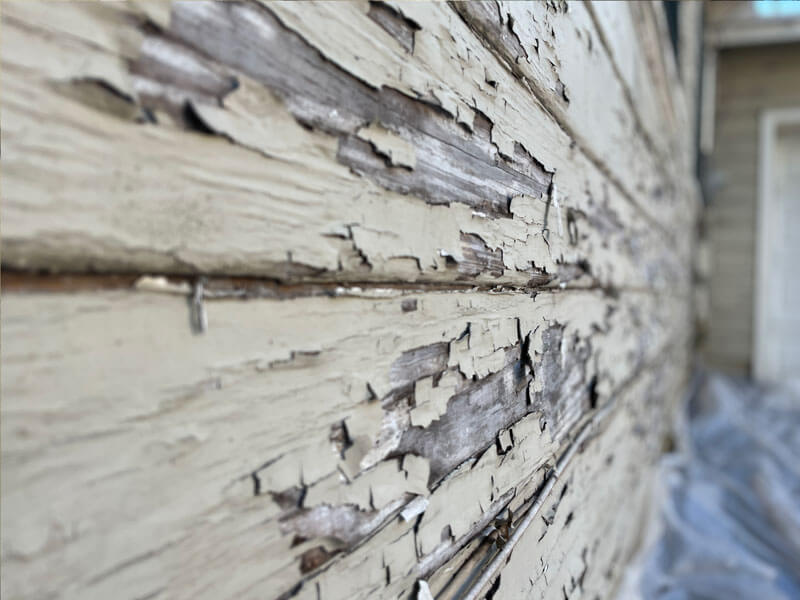
Refreshing an old piece of wooden furniture with a new look can be time consuming. Begin by applying paint remover and set for the recommended amount of time. Then scrape off the old paint layers with a putty knife. After that all you need is light sanding, and you can repaint as on a new surface.
Wood and Metal Paint: for Wood Surface and Metal Surface Paint
Metal surface painting, removing rust
Say your metal fence is rusty so you go to the store to purchase a rust remover. Apply it with a brush and it will remove the rust easily. Aesthetics do not matter at this step since we are purely removing the rust and must scrape it off with a wire brush.
To apply enamel paint, let’s use the same method as previously mentioned: choose a brush that is as wide as the material you are painting. Make sure all the rust is removed before applying the paint or it will smear with the new color and eventually grow back. Follow the manufacturer recommendations of your rust remover before applying any sort of topcoat.
When applying water-based paints, use a little water to thin the paint to create a smoother look. Also these paints can be cleaned up with soap and water – completely cleaning off your rollers and brushes will ensure multiple uses with them.
Does this seem like something you do not want to take on yourself? No worries! We have a lot of professional experience when it comes to painting wood and metal. Give us a call and let us take care of it for you!
If you think it’s time to paint, call us at 1(904)217-9681 and ask for a personalized quote!
Exterior house painting service
Related blog articles:
Three Steps to a Successful Home Renovation
Wall Painting Tools And Equipment – What You Will Need For Interior Wall Painting